Basic Dipping Kit
$56.99
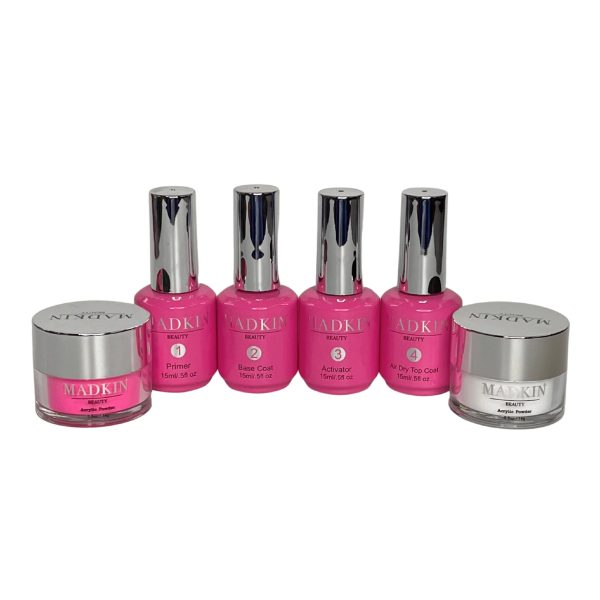
Not wanting everything in the Pro Kit but, want the new color and savings with new liquids. This is the kit for you.
Need simple, step-by-step instructions? Read our FAQ to learn more about how to use your dipping kit.
Items Included in Kit:
- Primer
- Base Coat
- Activator
- AirDry Top Coat
- 0.5 oz jar of Pure Diamond Acrylic Powder
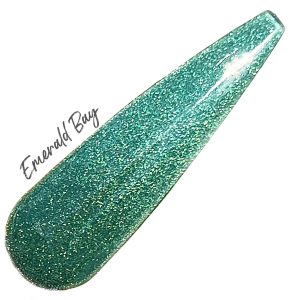
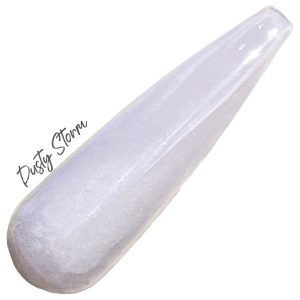
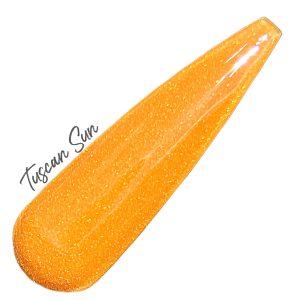
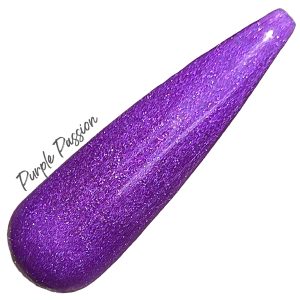
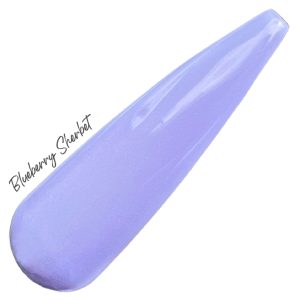
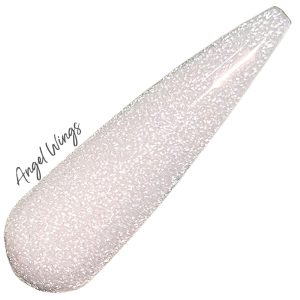
- 0.5 oz jar of Colored Acrylic Powder, your choice from selection
- Orange Stick
- Instructions
We highly recommend adding our Nail Cleanser to ensure no white, hazy appearance to your finished product.
Liquids:
~ Self leveling
~ Not easily contaminated
~Air Dry Top Coat gives Gel Shine appearance
~ Medium viscosity base coat
~ Low Odor
MadKin Dipping Kit Instructions
- Wash your hands in warm water & make sure your liquids are at room temp. Glass is a really good insulator & if your liquids are cold, the Top Coat will NOT dry.
- Buff all surfaces of your natural nails, removing all the shine, push back the cuticles & clean off all nails with our special formulated Nail Cleanser. (Purchased separately).
- Apply Primer (Step 1) to all of your natural nails.
- Apply tips at this point if you are going to.
- Shake all powders to mix them well due to settlement when stored. One nail at a time, apply a THIN layer of Base Coat (Step 2) to your nail, then slowly dip into our Pure Diamond Clear Powder. Wait for a couple seconds before you dust off the excess with our dust brush. I normally dip one nail, dip another one, then go back to the previous nail and dust it, do another nail & then go back to the previous nail & dust it off. This allows the nail to dry so you don’t get brush ripples in the powder on the nails. Repeat on all of your nails.
- Repeat #4 on all nails using the color of choice & apply 2-3 layers of the desired color, then always encapsulate in the Pure Diamond Clear. Encapsulating in clear gives the nail its strength & prevents you from filing of any color or glitter when shaping.
- Apply a generous coat of Activator (Step 3) to all nails & wait AT LEAST 4 mins until nails have hardened with no tacky feeling. This step is VERY IMPORTANT to actually time. The activator MUST have time to soak thru & harden all the layers of acrylic that you have applied. If it does not dehydrate all the way thru, you will have drying issues with the Top Coat.
- File, Shape & buff all nails. Wipe all nails off again with our Nail Cleanser, removing all dust.
- Apply another layer of Activator (Step 3). Allow it to dry for about 30 seconds. If a shattered glass look occurs on the finished Top Coat when it is dry, especially medical care providers, you may not need this extra step of activator. Judge accordingly.
- Apply an EXTREMELY THIN layer of Air Dry Top Coat (Step 4) to all nails and let dry for about 5 mins. TIME THIS STEP!! If it isn’t fully dry, the next layer of Top Coat you apply for shine will take forever to dry.
- Once dry, apply another layer of Top Coat for shine. Add your cuticle oil to nail beds to moisturize & use as needed during the day. Remove with 100% acetone.
For more information visit MadKinBeauty.com and for tips and inspo, follow us on all our social media,
